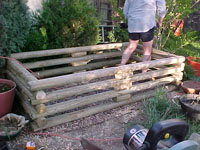
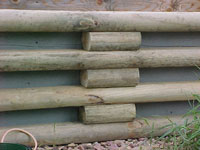
8-foot
landscape timbers were used full-length and cut in half to create this
quick 4'x8' pond. Don't make the walls more than 24" high for maximum
rigidity after adding water.
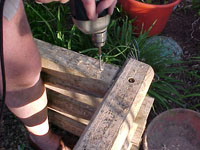
Corners
were drilled and "pinned" into the dirt with 1/2" diameter rebar
for concrete work. Where possible, stacked timbers were attached with long
deck screws.
12-inch
spacers were used between the timbers on the long sides to stiffen the
timbers. The short sides didn't need any reinforcement.
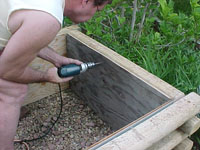
Because
the frame was "open," we had to add 1/2" exterior plywood to form
the inside of the box. The outside surface was painted before installation,
and then screwed to the frame.
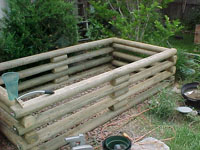
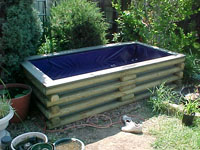
The
finished appearance of the frame after plywood installation is
shown above. We decided to leave the timbers natural, and painted
the plywood a light beige color for minimal contrast.
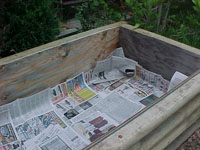
We
began lining the inside of the frame with heavy pads and then a layer of
newspaper. The bottom of the frame opening was red rock we decided wasn't
worth moving somewhere else.
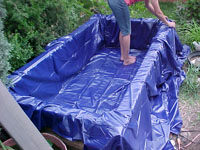
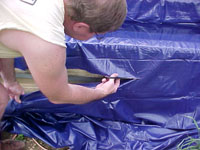
A
heavy PVC liner was moved into place, and then came the laborious
task of situating it in the frame with minimal wrinkling. Get it as smooth
as you possibly can.
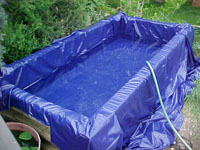
After
the liner has been smoothed, begin filling the frame with water.
Watch the timbers for any movement that might occur as you fill. This will
be the time construction errors show up.
Trim
the liner, allowing plenty of overage for now. We created a large roll of
the excess liner, laid it on the top timber, and then held it in place with
the trim boards.
Trim
boards were attached to the top of the frame to hold the liner
in place. We used 2"x6" Polyethylene decking lumber, attached
with deck screws. It also gives us a nice seating surface.
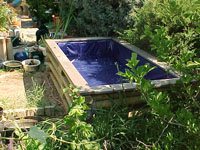
Another
view of the frame after trimming the top with poly decking. The
poly was gray, blending nicely with the natural timbers and beige plywood
liner.
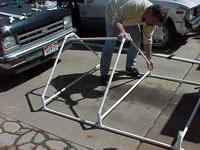
For
protection from the elements, we began crafting a gable-shaped frame from
1" PVC plumbing pipe and 45- and 90-degree ell and tee fittings. Our design
shed water like a slant roof.
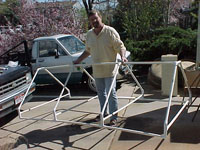
The
completed frame is light enough for one person to lift and carry.
We assembled the frame in the driveway so we had maximum space
to move around as we put it together.
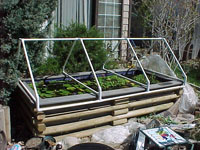
The
finished frame in place on the pond shows the overhanging sides to "grip"
the pond frame. The frame was then covered with heavy-duty clear PVC groundcover
plastic.
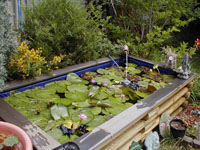
After
final filling and sitting several days to "season" the water naturally, fish
and plants were added. The specific goal of this pond was for tropical
plants, so it is also heated year-round.